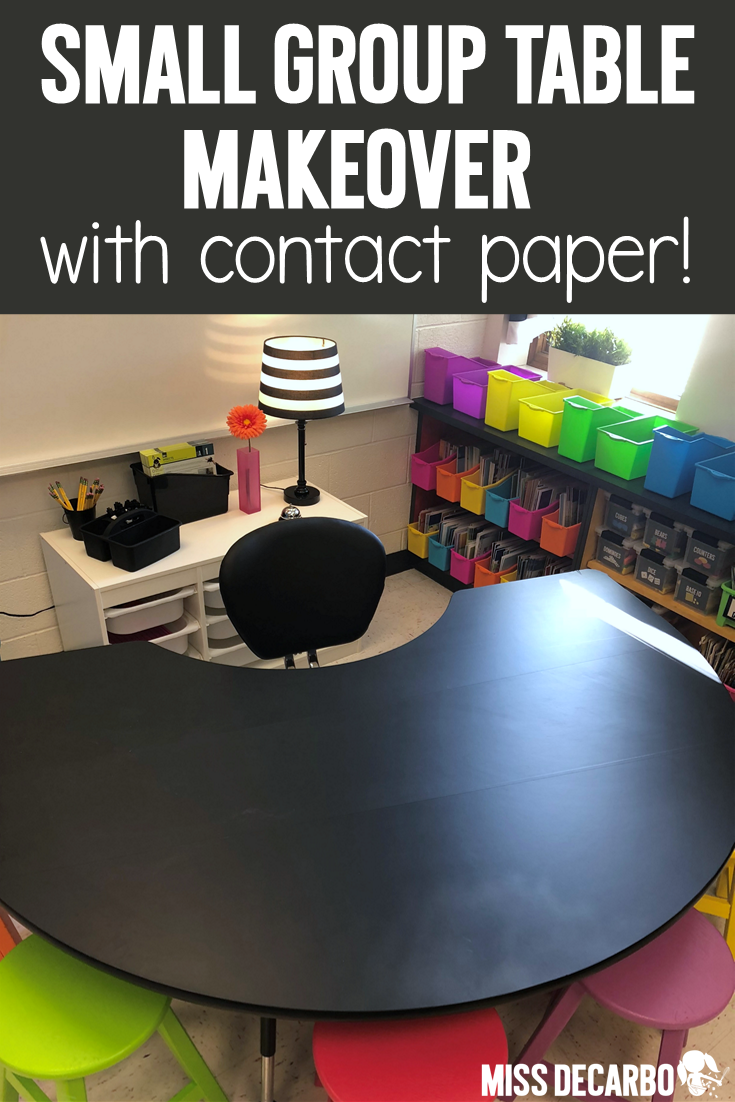
easily give your small group table a makeover!
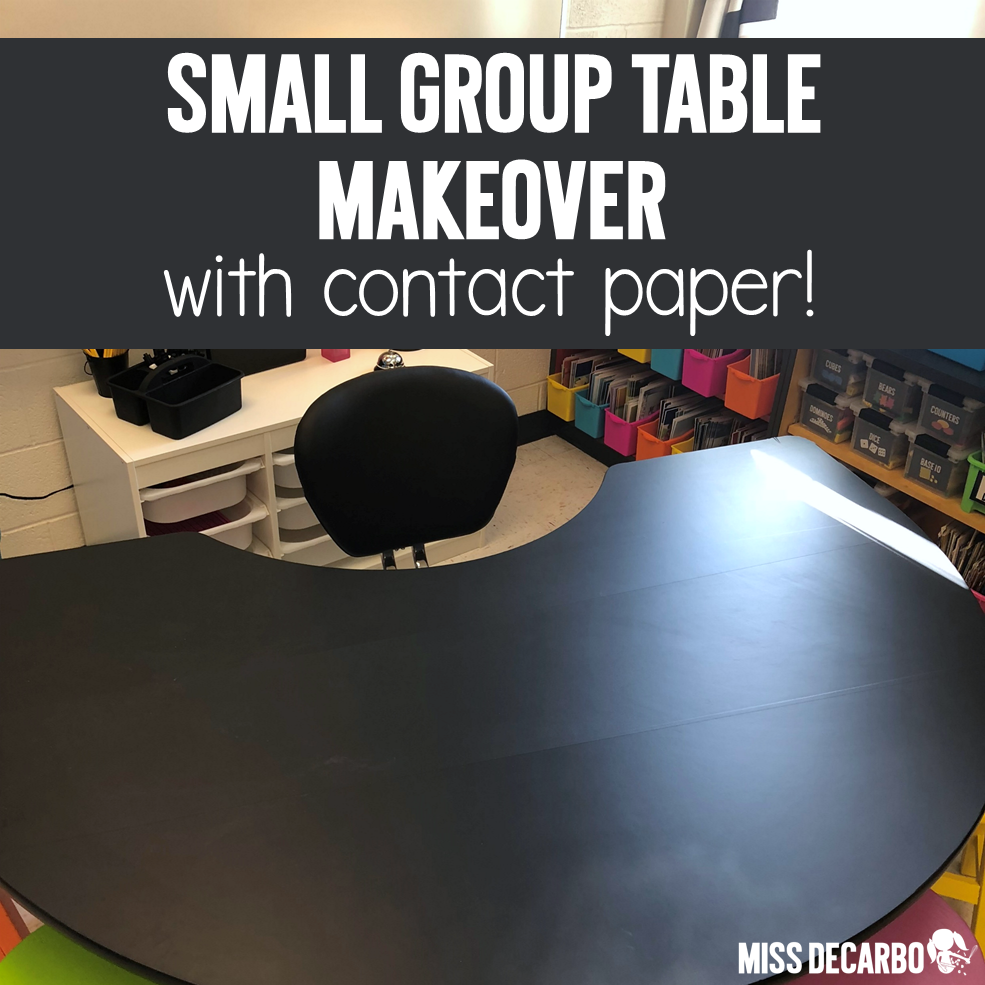
Every summer, I have several teachers reach out to me and ask me about my small group table. They always want to know the same thing- Did you paint it?! Today I’m sharing my small group table makeover secret with you! No, it’s not paint…it is contact paper! It’s also REALLY easy to do as long as you have some time and patience. Of course, covering up your table is not necessary, but I love decorating my classroom. (I mean…I REALLY, genuinely, truly love it!) Since making my existing furniture match my decor makes me happy, this contact paper hack has become part of my annual back to school routine!
Ready to give your small group kidney table a little makeover and a new look? Let’s get started!
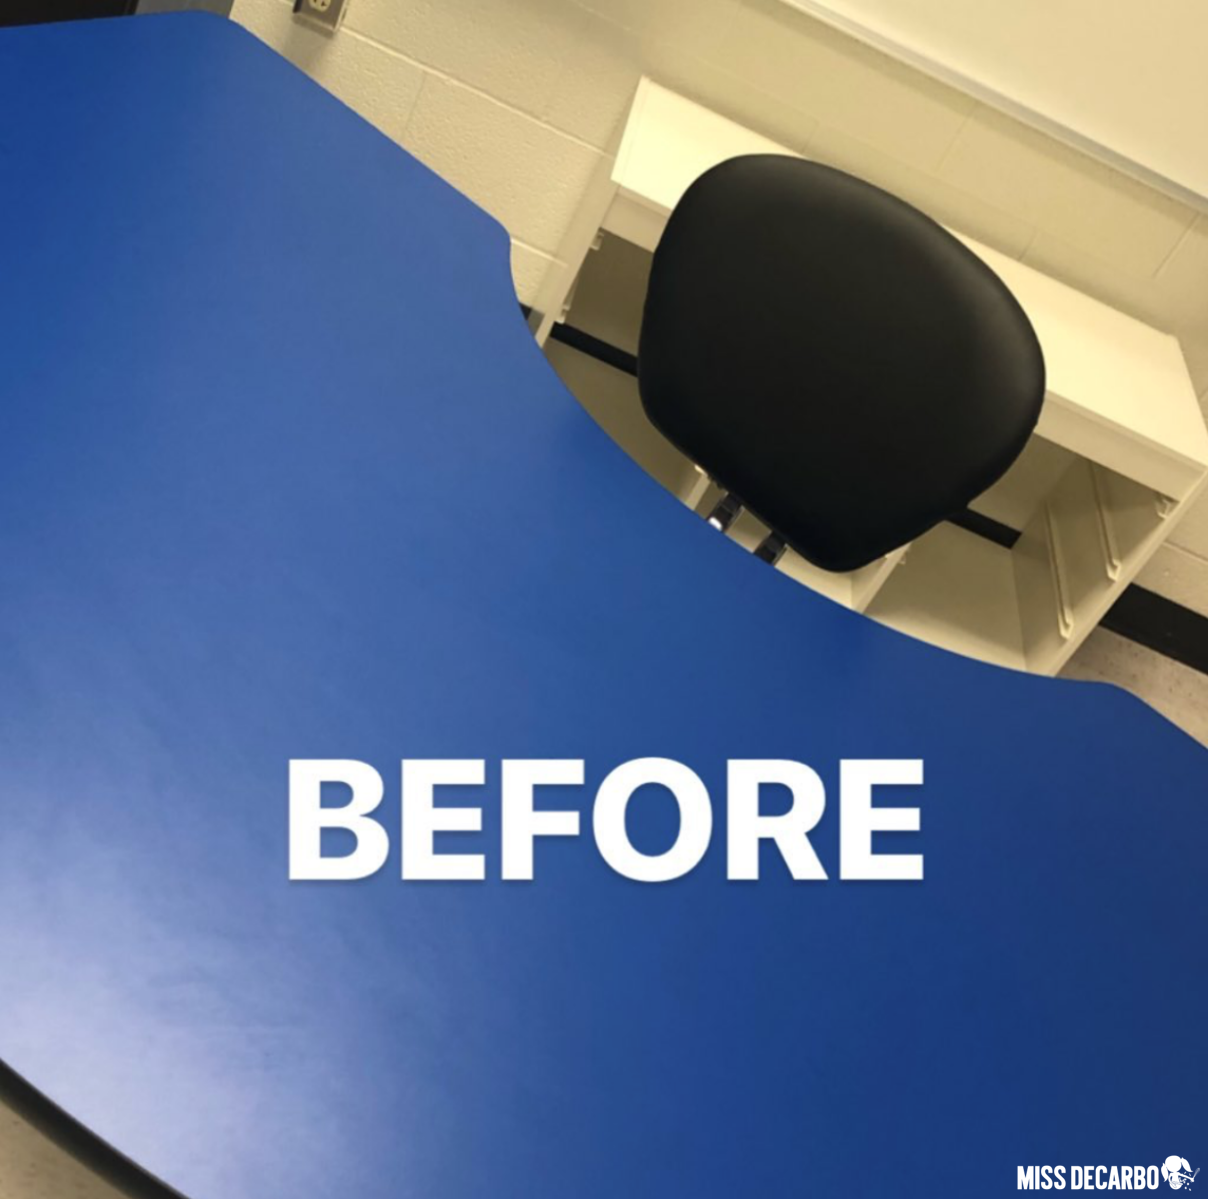
Before You Start
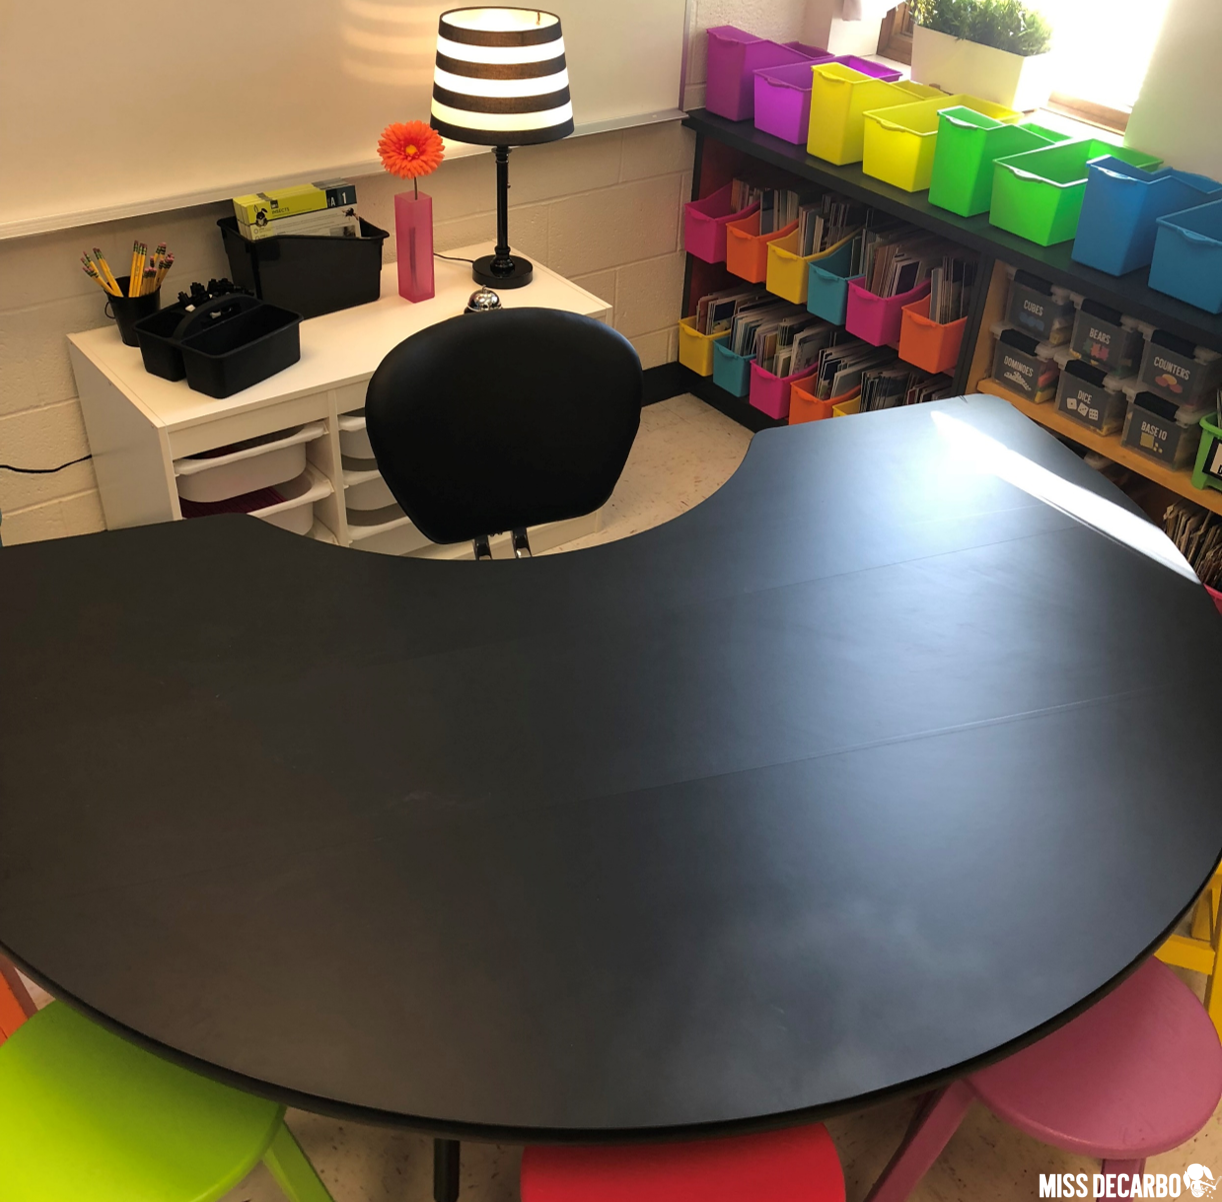
Below is a picture of what my small group table looks like before I cover it with contact paper. Be sure that you clean the top of the table and ensure that dust particles have been removed from the surface. You’ll want the table to be clean and dry.
The following blog post contains an Amazon affiliate link. This just means my blog receives a small compensation if you purchase any of these independent reading supplies using these links, but don’t worry- there is absolutely no extra cost to you! I hope you find the link helpful and convenient!
You’ll need the following items to cover your table with contact paper:
- Enough contact paper (see paragraph below)
- A credit card or library card
- Scissors
- A razor
- Someone to help you
- Time and PATIENCE!
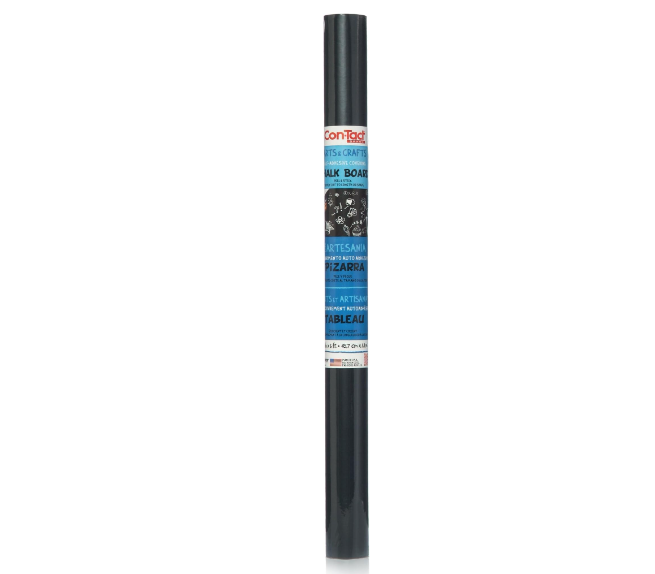
You can use any contact paper you’d like, but if you want your table to be black, like mine, I use the chalkboard contact paper that I’ve linked below. I’ve used this same contact paper for over EIGHT YEARS now! It’s actually black chalkboard contact paper. I like the chalkboard look because it’s not glossy or shiny. It is a matte finish, which I prefer because it hides fingerprints. It takes me THREE single rolls of contact paper to cover my table. I always purchase the six-pack of contact paper because it’s a better value and it gives me extra rolls in case I need it throughout the year.
After you have gathered everything you need, it’s time to get started! Grab a friend, and head over to your small group table!
Contact Paper Makeover Steps
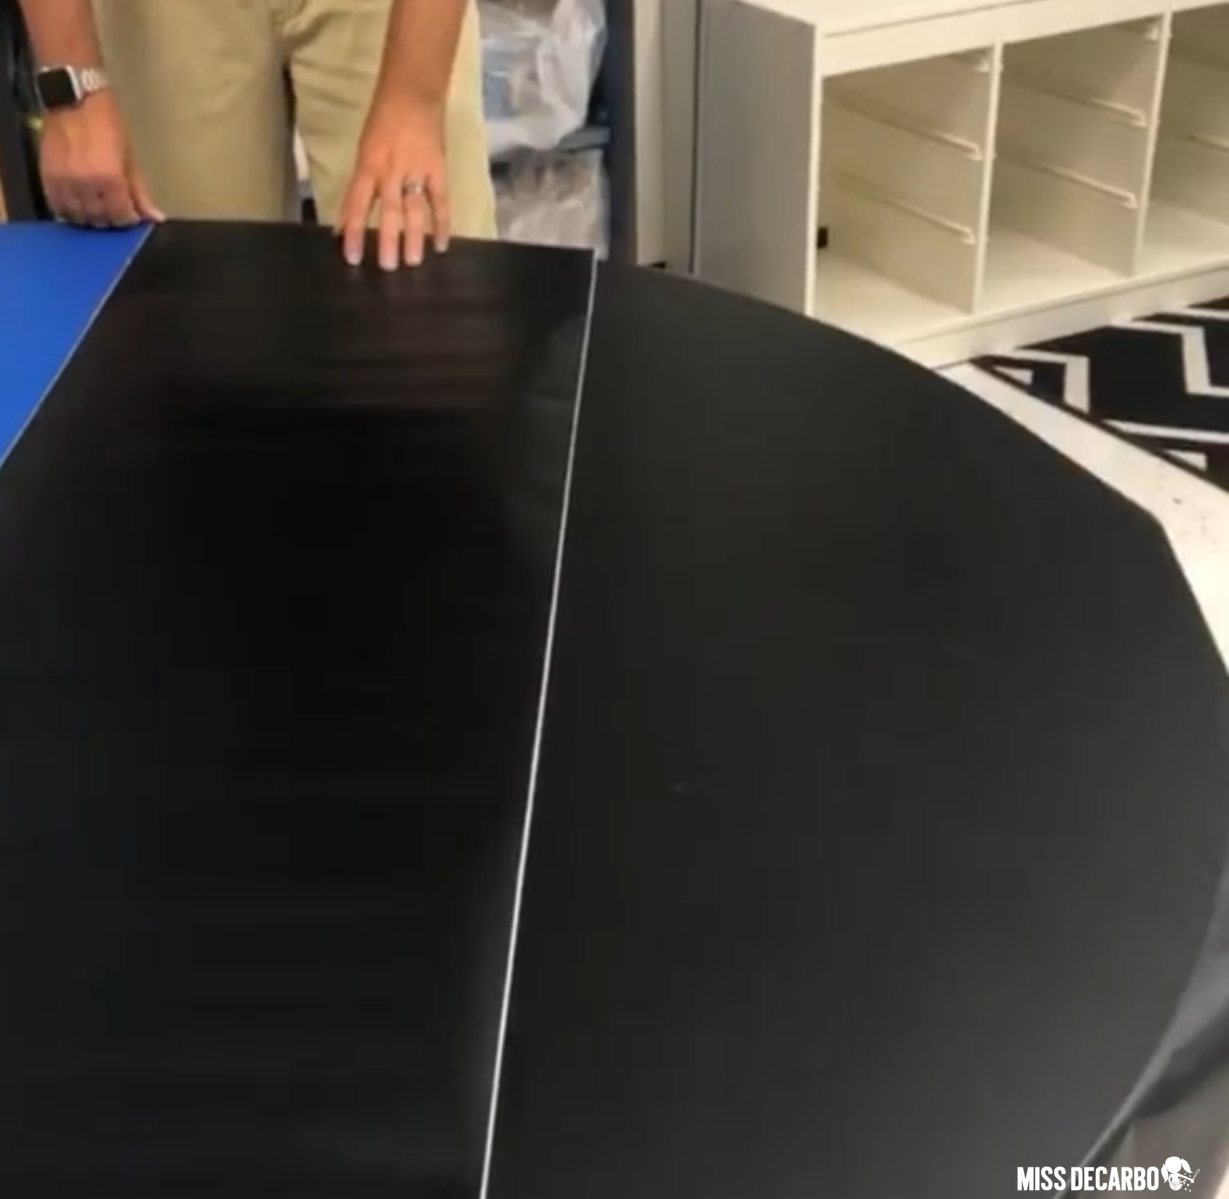
Step One: Lay out the contact paper across your small group table. (See picture above.) Lay the rolls of contact paper across your table. Line them up as best as you can. It’s better to overlap the layers just slightly. You’ll have contact paper hanging off of the table, and that’s okay.
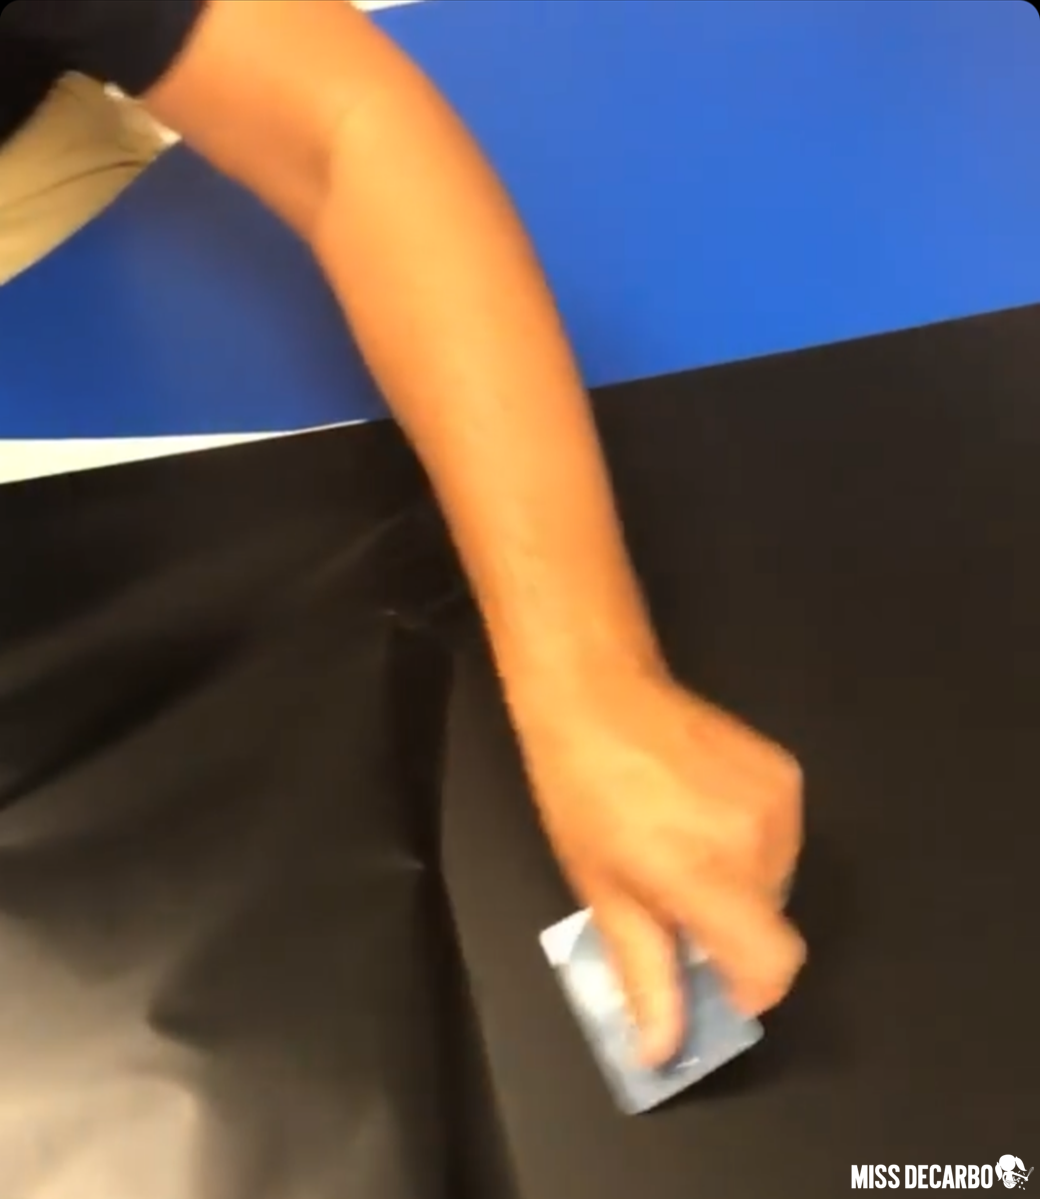
Step Two: Peel and smooth. (See picture above.) SLOWLY and CAREFULLY peel off one corner of the first roll of paper. It’s easier to have someone else hold the rest of the roll so that they can keep the roll of paper tight and wrinkle-free. Peel and stick the contact paper down on a diagonal. Do this soooo slowly and just stick down a little bit at a time. You want to work on just a small area at a time so that you don’t get air bubbles or gaps in the paper.
Using a library card or a credit card, smooth the paper onto the table as you slowly peel more of the backing away. You want to use the credit card to smooth out the air bubbles and wrinkles as you go. I can’t stress enough that the only way this works is if you go SLOWLY and little by little. It takes patience, but the results are worth it!
Repeat this process of unpeeling and sticking the paper to the table slowly (while smoothing with the credit card) for each roll of paper, until the paper is covering the entire top surface of the table.
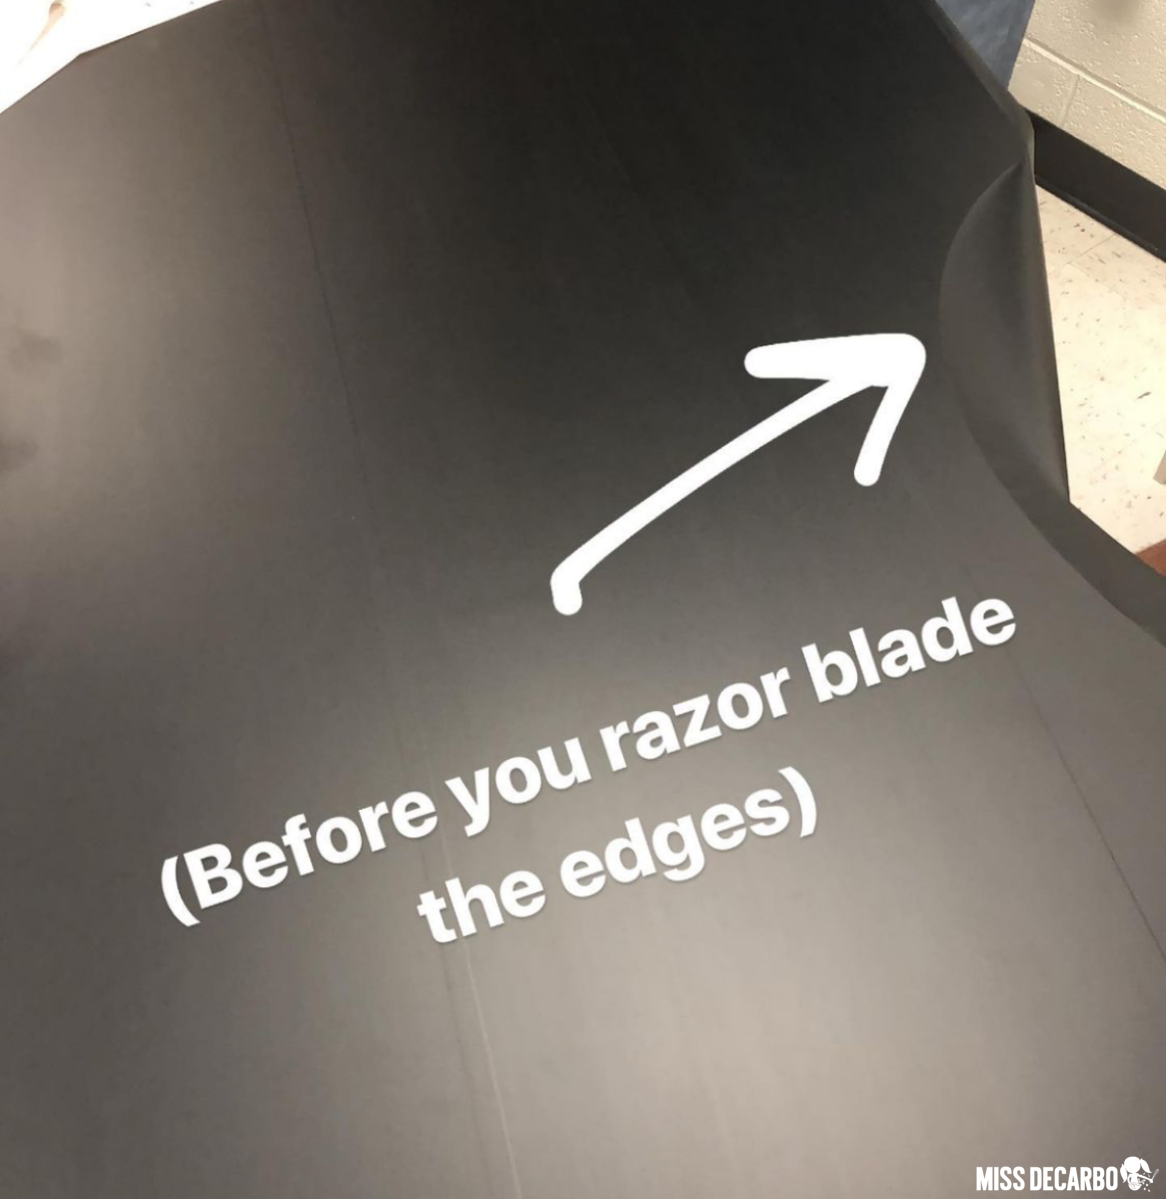
Step Three: Cut around the table, but leave some of the paper hanging off of the edges. (See picture above.) After the entire surface has been covered with contact paper, you’ll have lots of extra hanging off of the sides of the table in some areas. If there is A LOT of extra paper, cut it off so that it’s not in your way. It’s okay if you have a little extra paper hanging off of the edges, because you’re going to cut it off with the razor in the next step.
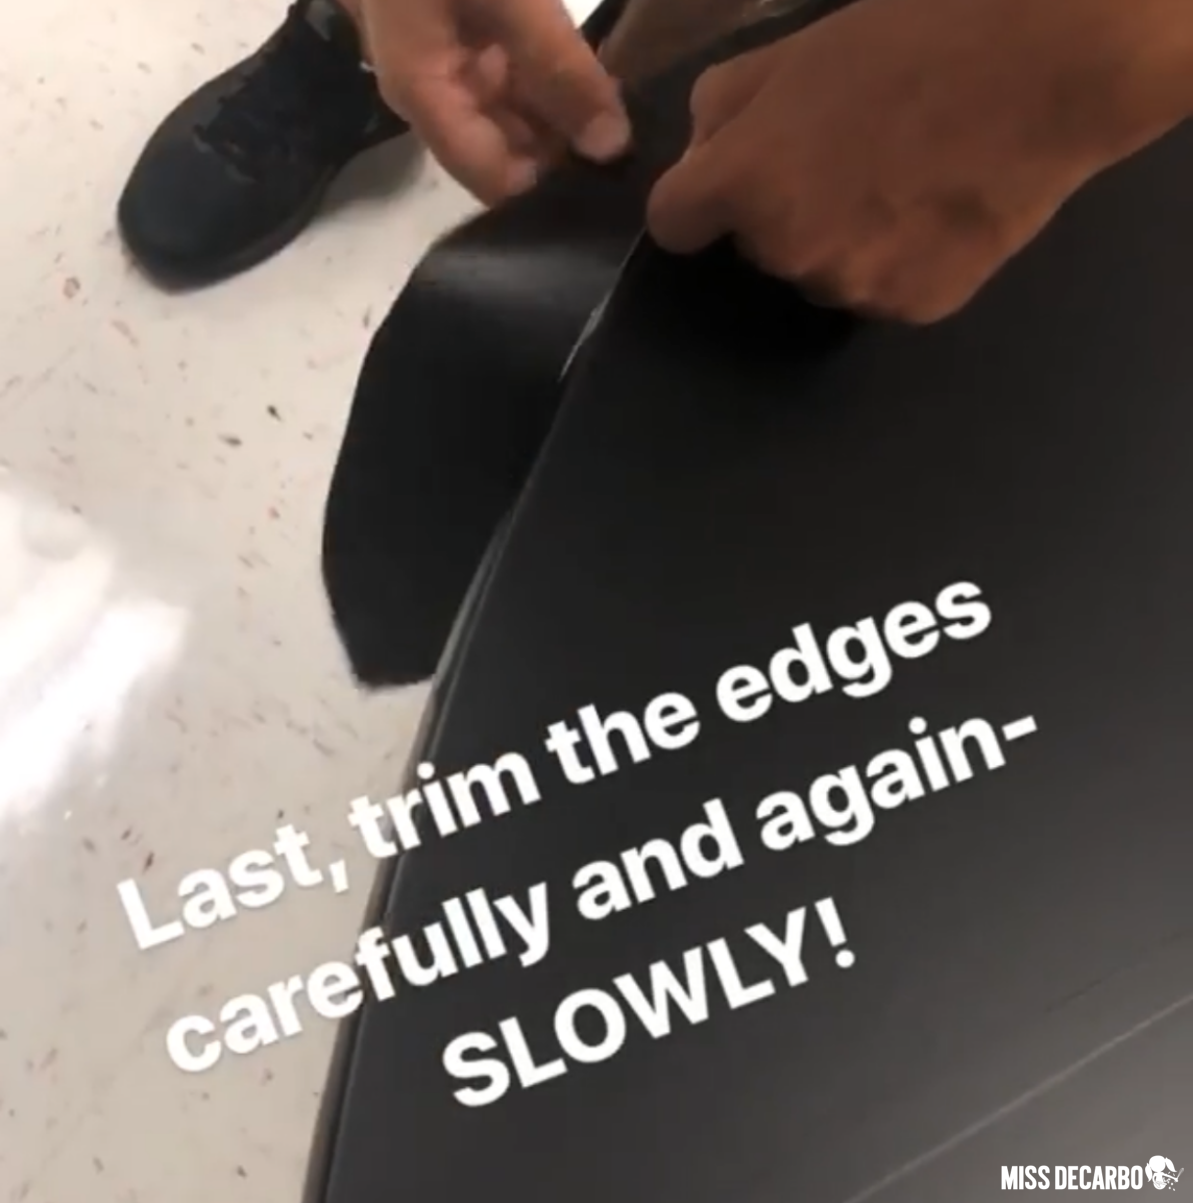
Step Four: Trim the edges CAREFULLY with the razor blade. (See picture above.) *If you don’t know how to use a razor blade to trim something, find someone else who does so that you don’t hurt yourself. Use the razor blade to carefully trim off the excess contact paper from around the table. Again, do this carefully and slowly!
You can see the edges of my table in the picture above. Note that the edges of my table were already black before I covered it with contact paper. It looks like there is contact paper on the sides of my table, but it’s not paper. My table is painted this way. If you have raw edges, you’ll still see the wooden sides of your table. It will still look pretty though and be a huge change in your classroom!
Contact Paper Makeover Results!
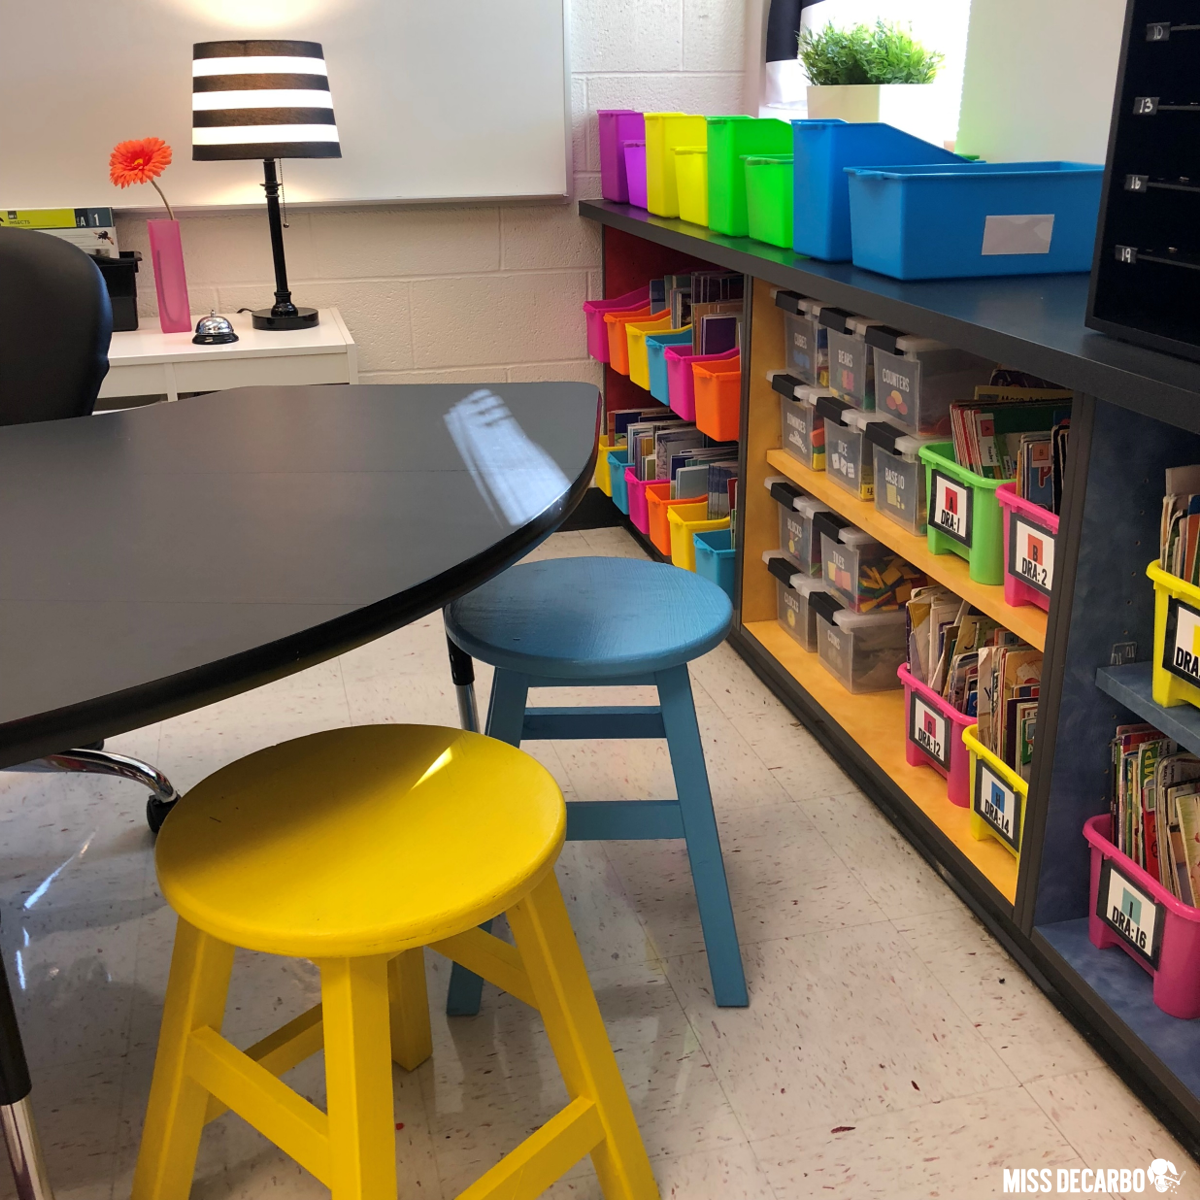
Finally, celebrate your small group table makeover! The picture above shows what my small group table looks like after we cover it with contact paper. I love it!
Frequently Asked Questions
Here are some FAQs that I always get regarding my small group table makeover:
- Doesn’t it peel off? Do the kids pick at it?
- Well, yes, they WOULD pick at it if I let them! However, I make it very clear on Day 1 that this is absolutely not allowed. The edges of the table DO peel up a bit naturally during the second half of the year.
- Do you recover the table every single year?
- I do, but you don’t have to. Nothing in our classrooms EVER look as fresh and as nice as when we set-up each fall. Since the edges around my table do tend to come up a bit by the springtime, I just prefer to cover it every year. Remember, too, that my husband and I have covered it for the past eight years. At this point in the game, we have gotten really good at it and it doesn’t take us much time!
- How does it clean and wipe off?
- I use regular Lysol wipes on my contact paper, and I have never had an issue with it! Fingerprints do get on it after small group time, but they wipe off easily. Keep in mind, I only have experience with the contact paper I linked in this blog post. I’m not certain how other brands or surface types would react.
Success at the small group table
Are you looking for interventions, ideas, and resources to use at your small group table? Check out the following blog posts for engaging and effective reading activities for the small group table!
Pin This small group table Hack
To save this teacher hack in order to refer back to it, or to share this post with a colleague, pin the image below to your Pinterest page!
If you loved this tutorial and you’re looking for more classroom decor and classroom set-up ideas as you head back to school, check out my Flexible Seating Blog Post! It’s filled with links, photographs, and tips!